
Open Suck
Latest changes based off OpenBSD 7.5
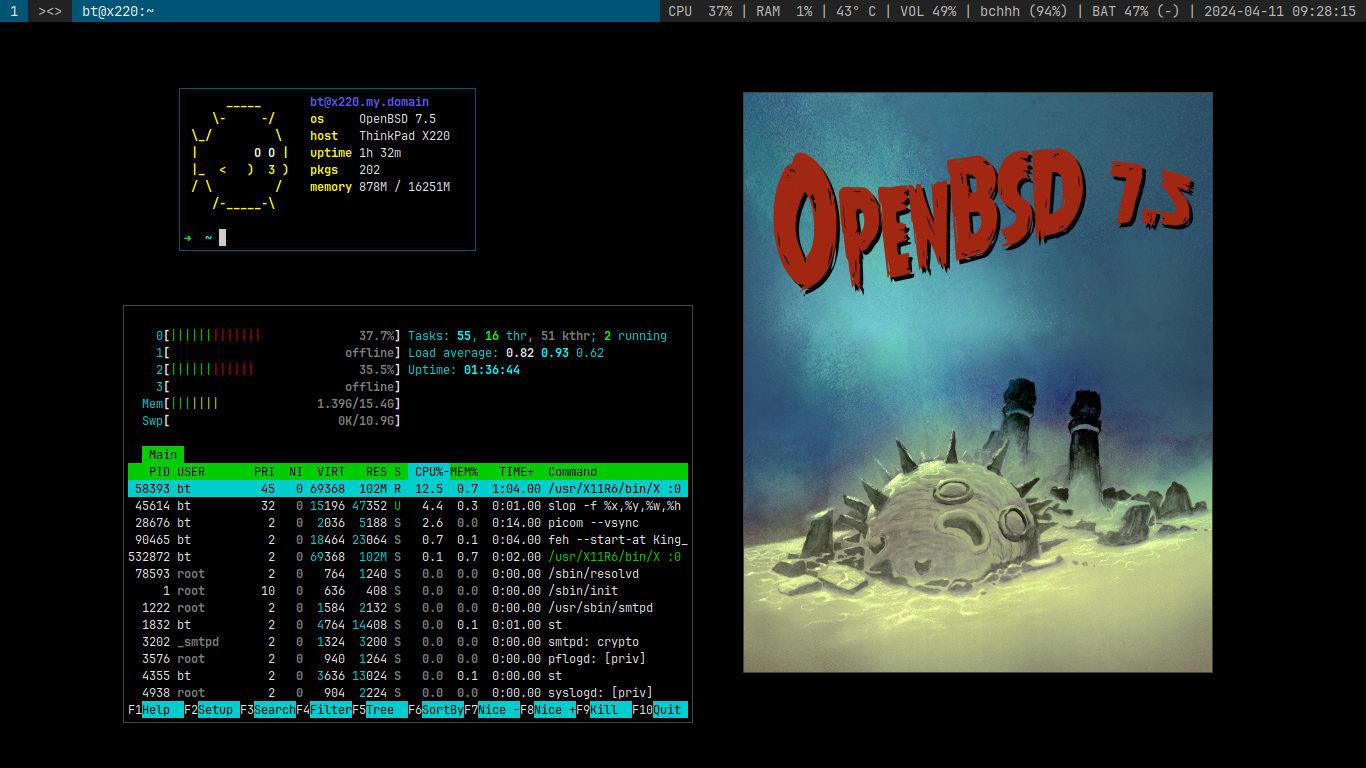
Lightweight Desktop installer for OpenBSD based on the suckless philosophy. Includes my own custom set of suckless tools (dwm, slstatus, dmenu, etc.)
Successfully installed on:
- ThinkPad X201
- ThinkPad X220
- ThinkPad X260
- Lenovo M73 Tiny
What You Get
The Open Suck installer gives you the absolute barebones desktop experience:
dwmfor window managementrangerfor your file browserqutebrowseras your core web browseraercfor your terminal-based mail clientslockfor screen lockingscrot/slopfor simple screenshot utilitiesfehfor your image/file viewingdunstfor notifications
Downloading
- Download the latest OpenBSD iso and follow the installer
- Install
git,vim,bash - Edit/create doas permissions (
/etc/doas.conf):
permit nopass :wheel
Now logout and log back in as your main user.
Clone the main installer project:
git clone https://git.btxx.org/open-suck
cd open-suck
Installing
1) Install dependencies by running ./install-dependencies.sh. The script will simply read required packages from dependencies.txt and run pkg_add.
2) Compile and install suckless software by running the ./install.sh
TL;DR
cd open-suck # CD into this repository
doas sh ./install-dependencies.sh # Install OpenBSD packages
doas sh ./install.sh # Install suckless tools
cp .xinitrc ~/.xinitrc # Apply .xinitrc
Reboot the machine. Log in as your main user. Run:
startx
Optimizing OpenBSD
Improving Battery Performance
Properly setup apmd:
rcctl enable apmd
rcctl set apmd flags -A
rcctl start apmd
Setup WiFi
The following assumes you have installed/setup the proper firmware updates for your hardware.
ifconfig iwn0 up
ifconfig iwn0 scan
echo "join WIFI-NAME wpakey PASSPHRASE" >> /etc/hostname.iwn0
echo "dhcp" >> /etc/hostname.iwn0
echo "inet6 autoconf" >> /etc/hostname.iwn0
echo "up powersave" >> /etc/hostname.iwn0
dhclient iwn0
Take note of the iwn0, as this might differ on your machine.
You might also need to run doas sh /etc/netstart after.